

Polyconf Teleconference Unit Setup Instructions.
Conference Room 314, Clark Hall.
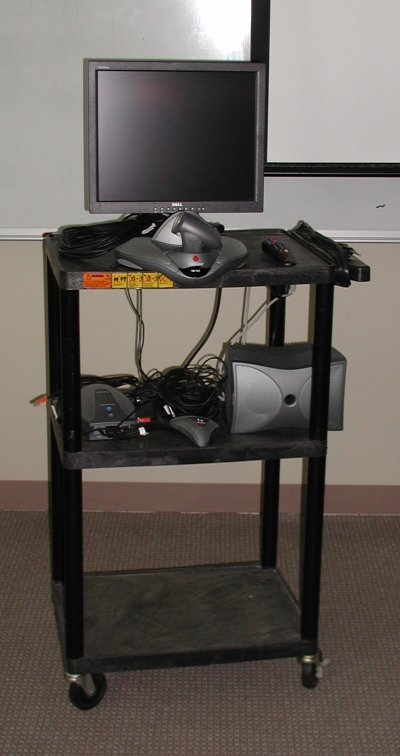
The unit, located on a wheeled cart, is stored in the storage closet of room 314.
The following instructions show how to set up the unit.
- First, wheel the cart into position.
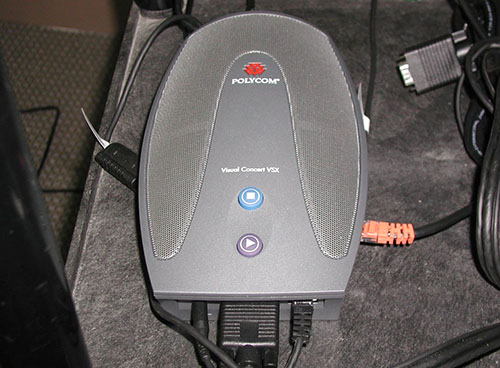
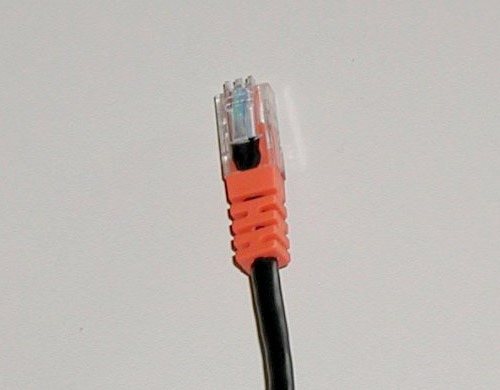
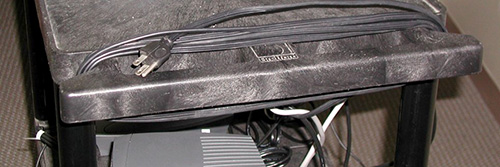
- Locate the Ethernet cable to connect the unit to the internet. The ethernet cable has an orange connection that will be plugged into the appropriate receptacle. The ethernet cable connects to the back of the unit shown below:
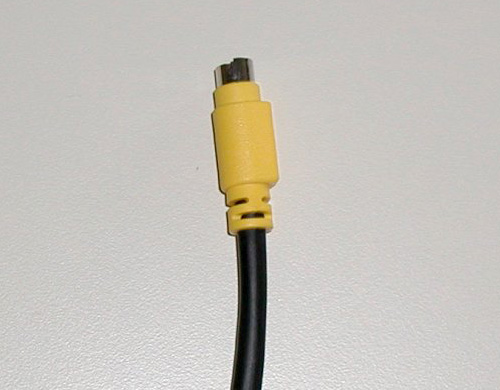
- The free end of the cable is orange in color.
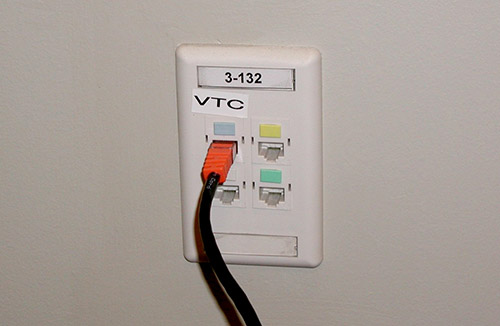
- The receptacle for the ethernet cable is located in the South East corner of the conference room.
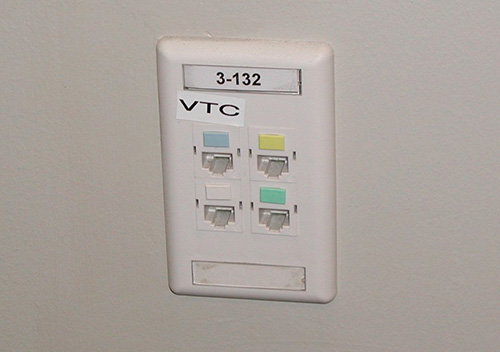
- Plug the ethernet cable into the receptacle labeled "VTC".
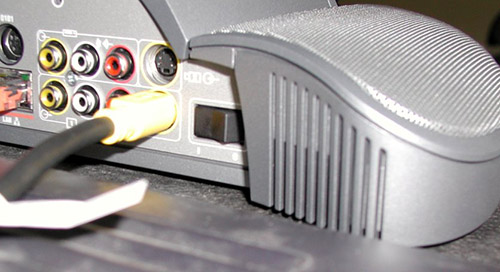
- Locate the video output cable. The receptacle is yellow in color.
- The receptacle for the video cable is located below and to the right of the pulldown screen.
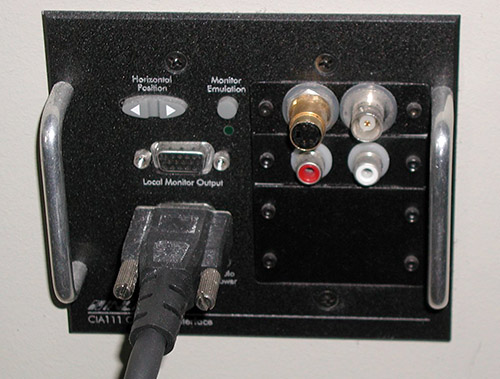
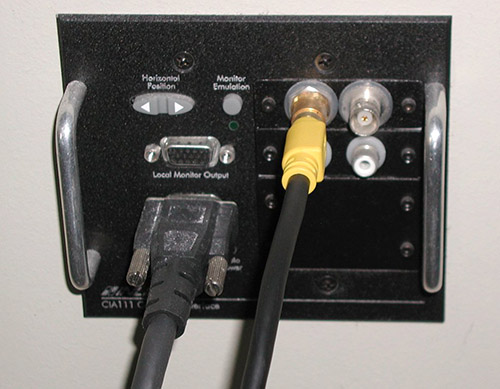
- Plug the video cable into the appropriate receptacle (see below).
- The power cord is located on the right hand side of the cart. Plug this into a power receptacle.
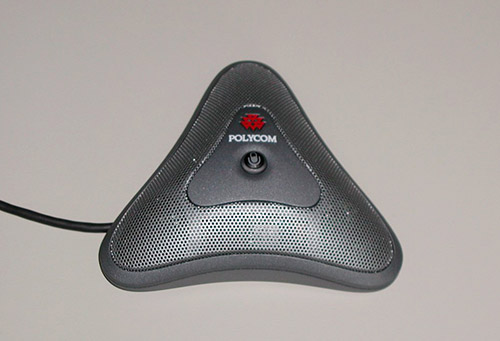
- Move the microphone from the cart to the conference table.
- Turn on the overhead projector using the remote control (shown below). Press the Power button while pointing the remote control at the overhead projector. Hold the button down for a few seconds.
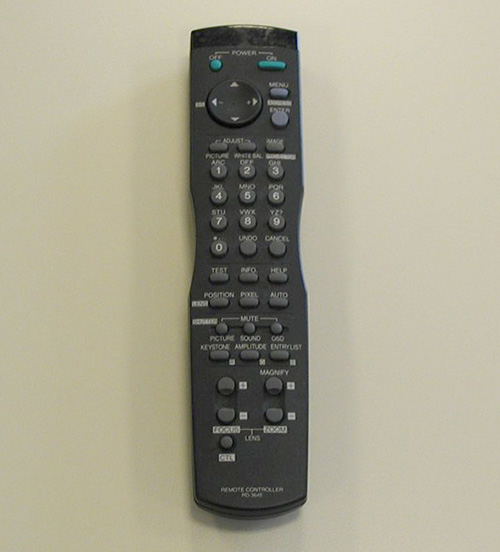
- Set the overhead projector video input to Svideo. Press the "Menu" button on the remote control. This will display the menu on the screen.
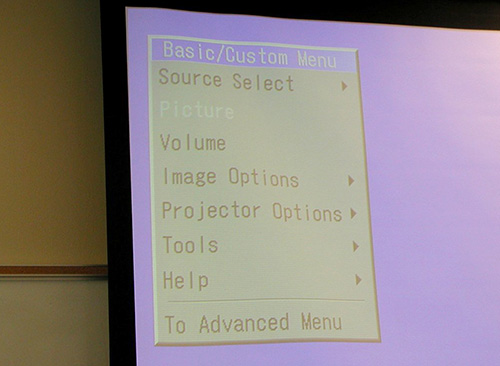
- Use the down arrow key on the remote control to Select "Source Select" on the screen. Press the Enter button. This will display a pop up menu on the screen.
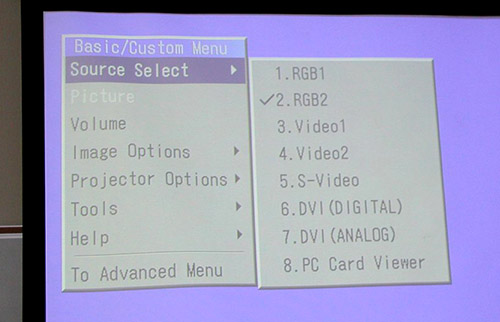
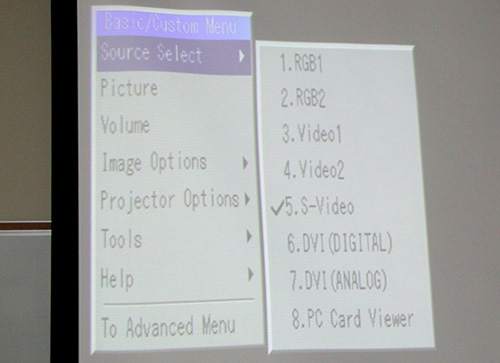
- Use the arrow keys to navigate to 5. S-Video.

- Select S-Video using the "Enter" key.
- To power up the unit, locate the power button on the back of the camera unit. Front of camera shown below
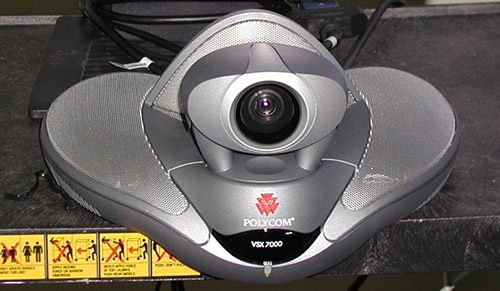
- The power button is located to the right of the S-Video cable on the camera unit
- After switching the power button on, the unit will boot up and be ready to communicate with other teleconference locations.